What are Northern Lights?
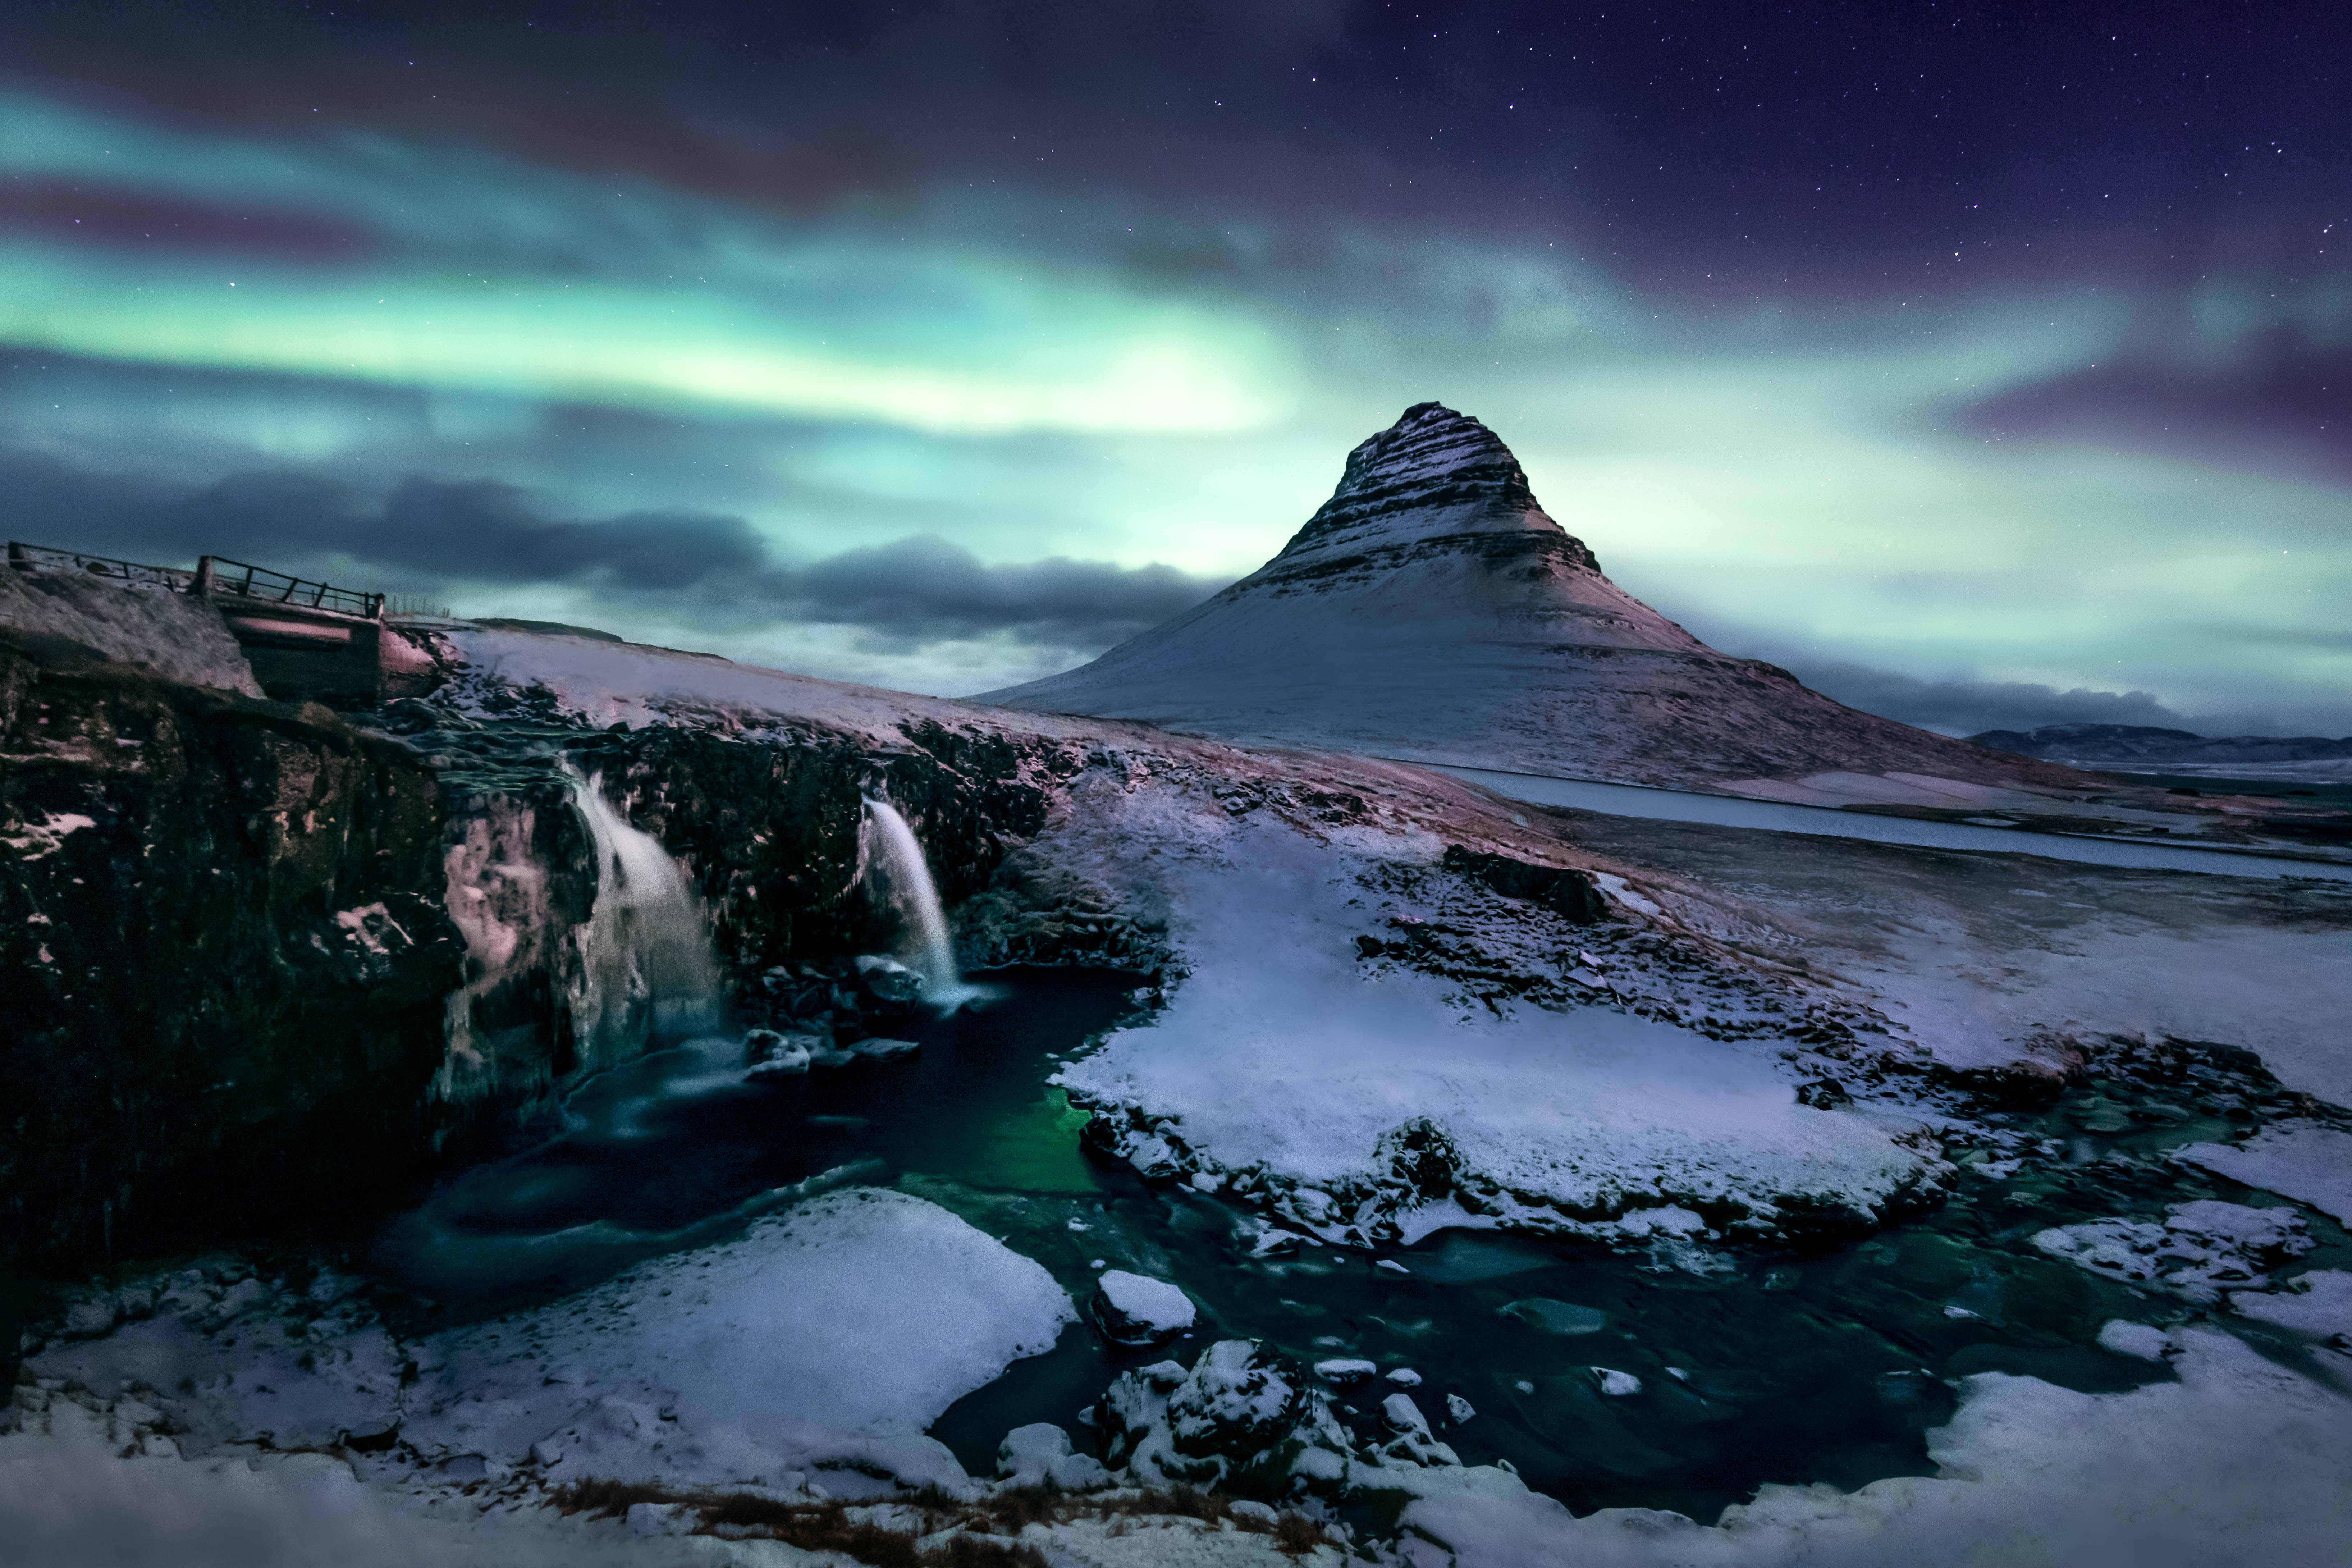
The bright dancing lights of the aurora are actually collisions between electrically charged particles from the sun that enter the earth’s atmosphere. The stronger the solar winds, the greater the intensity of the northern lights. You can see the lights above the magnetic poles of the northern and southern hemispheres.
The lights in the north are called Aurora Borealis and the lights in the south are called Aurora Australis. The colours of the auroral displays appear in many different colours although pale green and pink are the most common. Shades of red, yellow, green, blue, and violet have been reported.
The lights appear in many forms from patches or scattered clouds of light to streamers, arcs, rippling curtains or shooting rays that light up the sky with an eerie glow. Moreover, northern lights move at different speeds. Some northern lights move quickly, while others are more static.
Where can I see Northern Lights?
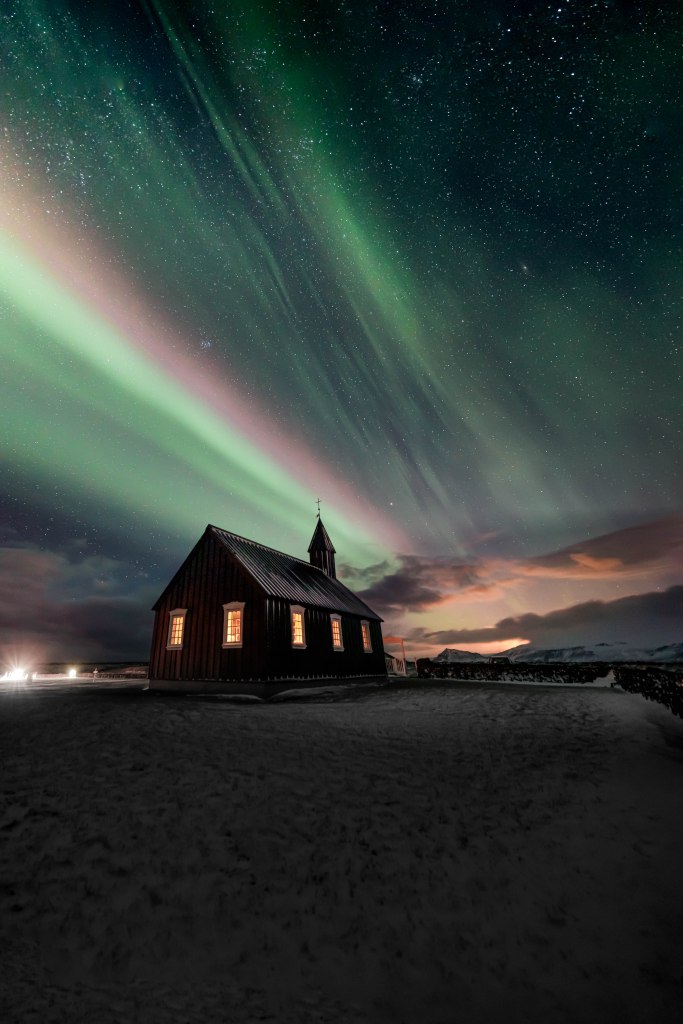
Northern lights can be seen both in the north and at the poles in the south. Northern Lights are best seen in the Arctic Circle regions, for example Canada, Alaska, Greenland, Iceland, Svalbard, Norway, Sweden, Finland, Russia and occasionally depending on the intensity of the lights in countries such as Faroe Islands, United Kingdom, Ireland or Denmark.
Areas that are not exposed to „light pollution“ are the best places to look for the lights. Areas in the north, in smaller communities, tend to be the best.

Preconditions
First of all you must use a tripod when you are shooting northern lights photography since you have to take long exposures. It is not possible to take unblurred hand‑held photos with long exposure times.
Set to manual‑/autofocus
To photograph the northern lights, you need a tripod, a camera with a manual mode and a lens with a wide aperture.
Set up the tripod and switch the camera to manual mode. With the lens, the auto focus and the image stabilisation are switched off.
If the camera is on a tripod during a long exposure, the image stabiliser can cause blurring and unsharpness.
You should zoom out on the lowest mm setting on your lense. The autofocus of the lens will not work in the dark so you will have to focus manually. The focus must be set to infinity. When focusing manually in the dark, the live view on the display will help you. When focusing, you focus on a particularly bright star and other distant lights.


ISO Setting
The ISO is set to ISO 1600 to start with. The higher the ISO value is set, the more light sensitive the camera becomes.
But be careful: the higher the ISO value, the lower the quality. The higher the ISO value, the higher the image noise. The higher the ISO value, the lower the image quality of the subsequent photo.
Aperture = f‑stop
The aperture should be as wide open as possible for northern light photography. If the aperture is wide open, a lot of light falls into the camera and our exposure time becomes shorter.
The wider the aperture, the lower the f‑number. The aperture or f‑stop (f‑2.8, f‑4, f‑5.6 etc.) on your camera indicates how wide open your lens is. Ideally, the aperture is now set to f‑2.8 or lower. How low the aperture can be set depends on the conductivity of your lens.

Shutter speed
I usually start with an exposure time of around 8 seconds. There is no perfect exposure time. It always depends on the circumstances on location. How dark the place is and how fast the northern lights are moving. An exposure time of more than 30 seconds should be avoided as the movement of the night sky makes the stars appear blurred in the photo.
You should remotely release the shutter. You can use a remote control system or the 2 sec. self‑timer of the camera.
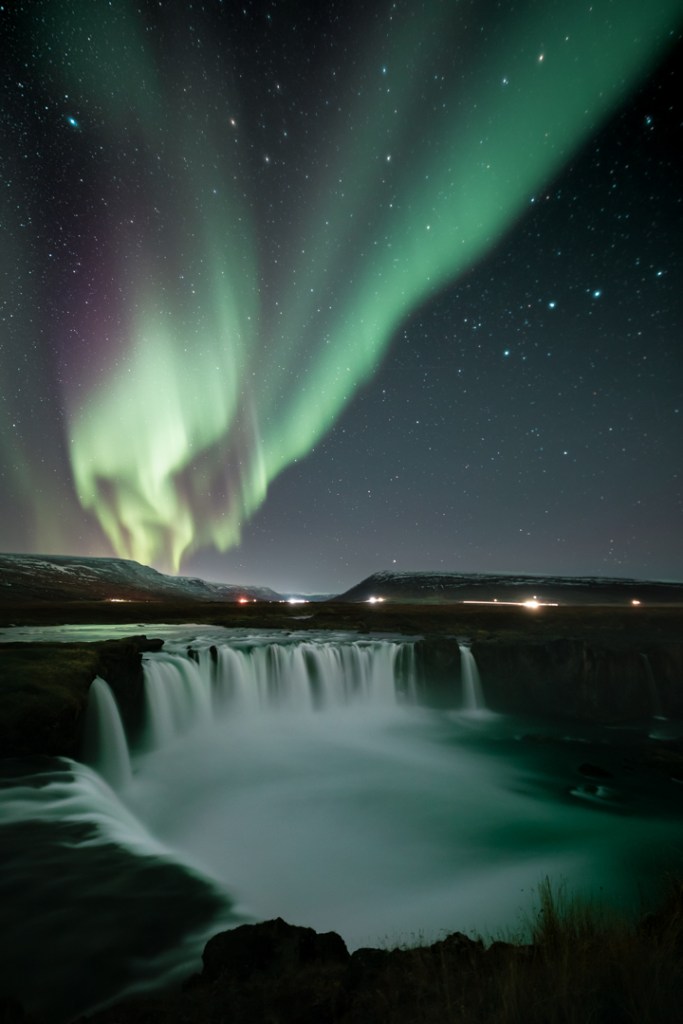
Photo composition
The same basic rules apply to photo composition as to daytime photography. You should pay attention to a harmonious, balanced composition. You should pay attention to leading lines, symmetry and patterns, balance and the right frame to get an optimal result.
Since I use a DSLR camera I only see a black image on the live view screen. To find the optimal exposure, it helps to use a torch. However, you should only do this if you have the location by yourself. If you don’t want to disturb other people you can set the ISO value to 25000 and the exposure time to 1 second, for example. This way you can take a test photo and get an idea of the composition of the picture. However, you should not forget to set the ISO back again.
Other tips
‑ Wear warm clothing
‑ Make sure to bring a spare battery
‑ Go location scouting before you start shooting your scenery in the night
‑ Bring a torch to safely get to the location in the night
‑ Bring a headlamp with red light. The red light is relaxing for the eye and helps the eye to adjust to the darkness more quickly
‑ Install Northern Lights apps
‑ Install weather apps ‑ Like “Vedur.is” (for Iceland)

Marcel Weber
Frankfurt, Germany
tales-of-the-north@gmx.de
© 2020 Marcel Weber – No reproduction, publication, or rehosting of any content on this site without express prior written permission. – Impressum
